Top Tips for Storm-Proofing Your Home in Palm Bay During Hurricane Season
Top Tips for Storm-Proofing Your Home in Palm Bay During Hurricane Season Expert preparation and protection advice from Handyman Palm […]

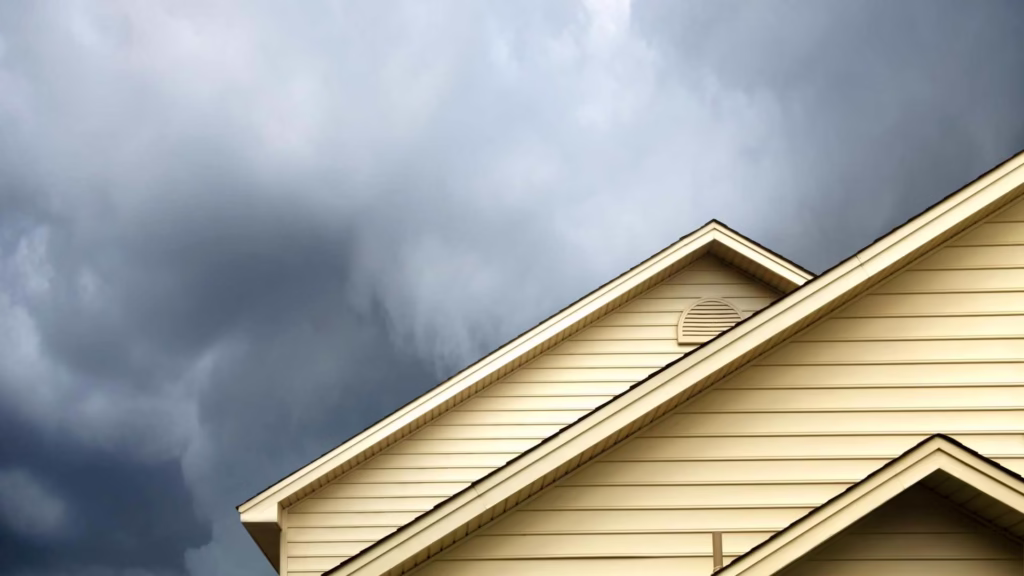
Top Tips for Storm-Proofing Your Home in Palm Bay During Hurricane Season Expert preparation and protection advice from Handyman Palm […]
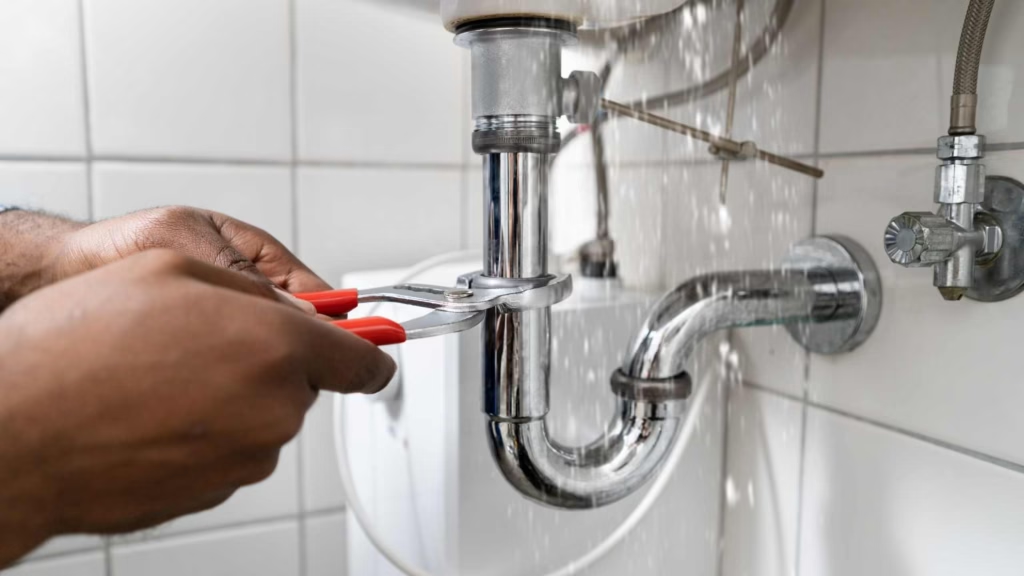
Common Water Leak Causes in Palm Bay Homes and How to Prevent Them Expert advice from Handyman Palm Bay FL […]

How to Choose the Right Handyman in Palm Bay, FL — 7 Questions to Ask Before You Hire Your guide […]
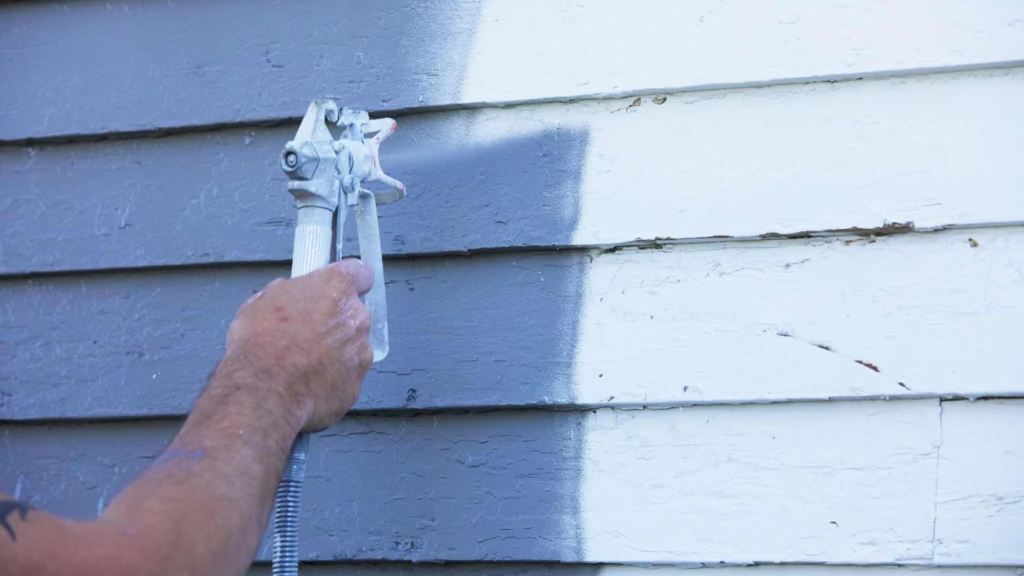
Best Materials for Exterior Paint on Palm Bay Homes (Resistant to Humidity & Salt) Protecting Your Palm Bay Home from […]

How to Protect Your Home’s Exterior from Humidity and Salt Air in Palm Bay, FL Living in Palm Bay, FL […]

Spring Home Maintenance Checklist for Florida Homes As spring rolls into Florida with its warm breezes and budding landscapes, it’s […]

How to Upgrade Your Bathroom on a Budget in Palm Bay, FL (Handyman-Approved Tips) A bathroom upgrade doesn’t have to […]

Preparing Your Palm Bay Home for Hurricane Season: What Every Homeowner Should Know Living With Hurricanes in Palm Bay, FL […]